It would seem that spring has finally sprung! No longer the delightful presentiment Jonelle wrote about so beautifully here, but the actual-factual, joyous, renewing warm-weather-trying-out-shorts-again-let’s-do-this thing! And as visions pastoral dance in my head, I can hardly help echoing them outside of it, which has resulted in me turning my hair into a kind of braid-nest every day now for the last full week.
I have never been particularly good at… howyousay… “doing hair.” In fact, I was totally incapable of assembling my locks into even a coherent ponytail until well past the age when I could vote and drive. And now here’s a ‘do that I can do! Easily and repeatedly! And it doesn’t even look like a dust-cloud around a stinky animated character! (Pig-Pen, looking at you.) In fact, I think it looks great. So in the spirit of spring, and of sharing A Thing I Can Do, I give you: a Braid Nest in 5 easy steps.
You Will Need:
Medium-Long to Long Hair
2-10 bobby pins
Spritz of hairspray
Like most updos, this one is best accomplished a few days after a wash, or when your hair has a bit of natural oil in it. This can be expedited by applying Moroccan or Argan oil after washing. Give those locks a good and thorough brushing, and you’re ready to begin!
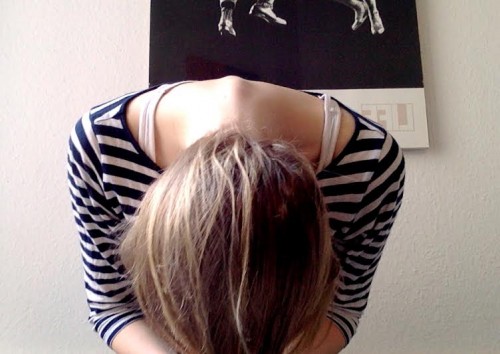
Tilt your head down, bringing all your hair to the front. This is also a bonus neck stretch.
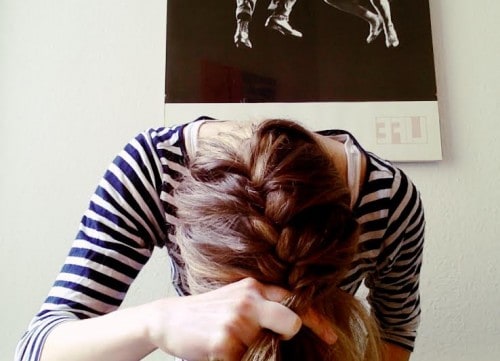
Beginning at the nape of your neck and travelling upwards towards the crown of your head, French Braid your hair.** (I invite you to enjoy the bottom of this Life Magazine photo, apparently taken by Gjon Mili in 1943, as I continue braiding. )
You now have a fun braid-horn, and a Faux-hawk-esque side profile. You’re done. JUST KIDDING.
Take the end of the braid, and hinging at a mid-point just above your forehead, tuck the excess braid around and onto the top of your head.
Secure with a few bobby pins.
Voila! You’ve transformed your hair into symbolic image of the beauty all around you, by harkening aesthetically to the transformation and rebirth currently at work in the natural world. Or: You have a fun new braid thing, and look great! If you want to get even more into this nest thing, add a ribbon like an actual bird would. YOU CAN DO IT!
Happy spring, lovelies. Let’s get twitterpated.
**Readers Digest French Braid: start with three small sections of hair. Braid together, gradually adding more hair to each section as it crosses in from the side, and towards the centre of the braid structure.








 Follow Us On Instagram
