Ali Maldoff is a writer covering all things DIY, lifestyle, and food/drink on her blog Mint Sprinkles. Each week she gives us a different cool and easy project that we can try at home. We love Ali’s taste!
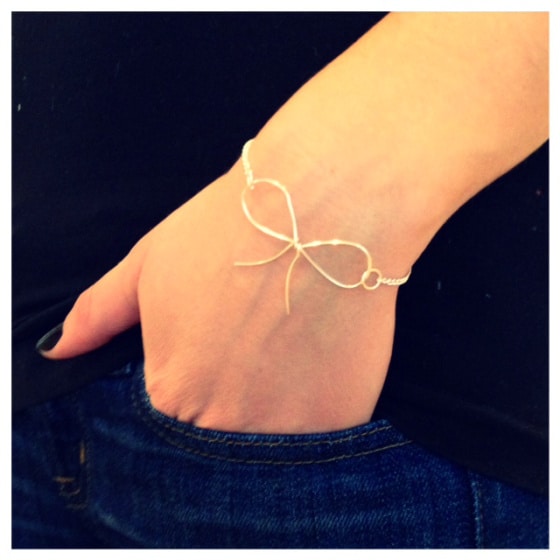
I have to say, I’m in love with my new little bow bracelet. I’ve worn it bunches since I crafted it just a few short days ago, and it feels like an extra special piece knowing I made it myself. It may look super technical, but I promise that you don’t need to be a jewelry whiz to make one yourself!
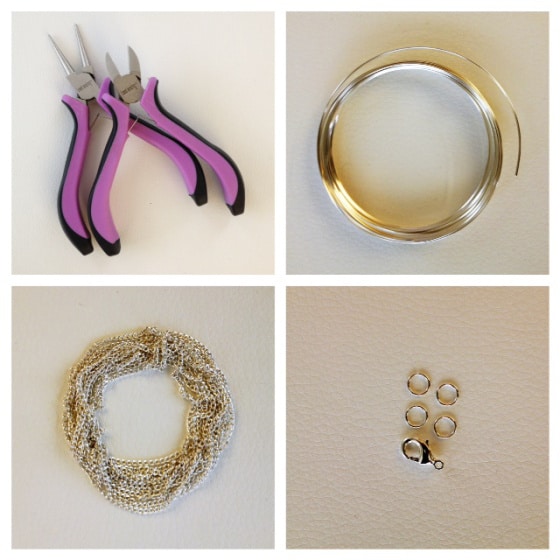
You’ll need:
- Round nose pliers
- A small metal cutter
- Silver or gold jewelry wire (22 – 24 gauge)
- Jewelry chain in matching metal (or different metal if you want to go for a mixing metals look); size of links is up to you
- A jewelry clasp kit including a closure and at least 4 round links
(I found all of my supplies here)
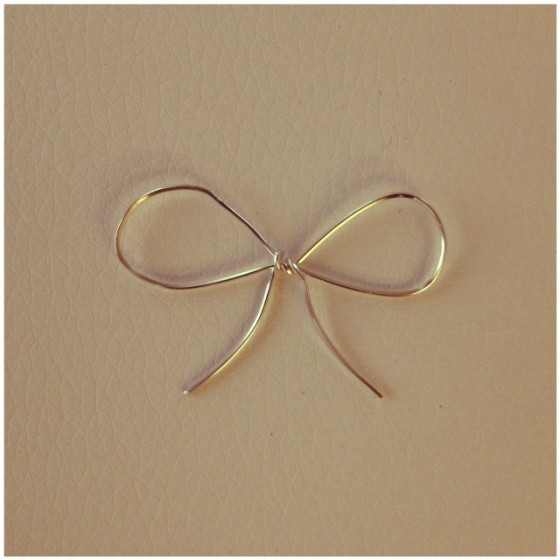
What now?
- Draw (to scale) the shape you want to create with the wire on to a piece of paper. I chose a bow, but you could really do any simple shape; your initial maybe?
- Use round nose pliers to curve jewelry wire to mimic the pattern you have created on paper. Take your time and don’t worry if it takes a few tries to get it smooth – at least you have a whole roll of wire!
- Measure your wrist with the jewelry chain and cut it to size* with your metal cutters, then cut that one piece in the middle to create two identical length chains.
- Using your round nose pliers, open the round clasp links and attach one to each end of both jewelry chains (4 total).
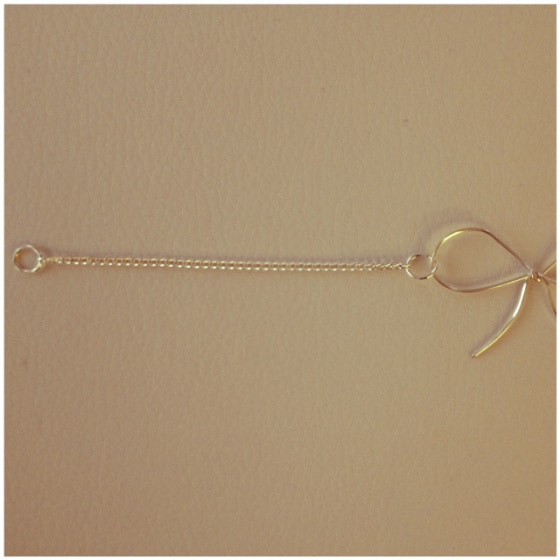
- Next, attach one round link (with chain) to each end of the bow (as per the image above).
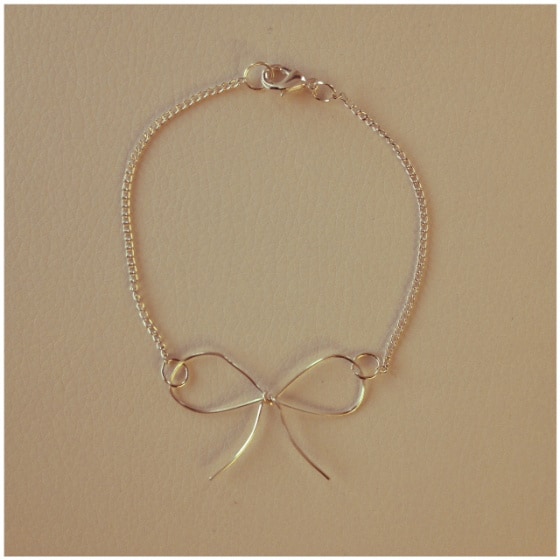
- Finally, attach the clasp closure to one of the free ends of the jewelry chains.
- Et voilà! A dainty little bow bracelet to simplify a wild outfit, or layer up with something a bit more plain.
*You may find that you need to adjust the bracelet size to be a bit smaller once all the clasp pieces are added. If so, simply remove the round links, cut the chain to size and re-attach them afterward.


 Follow Us On Instagram
